


Simplify your roofing project with the best shingle cutting tools. Our guide covers top options for DIYers and pros, ensuring perfect cuts every time.
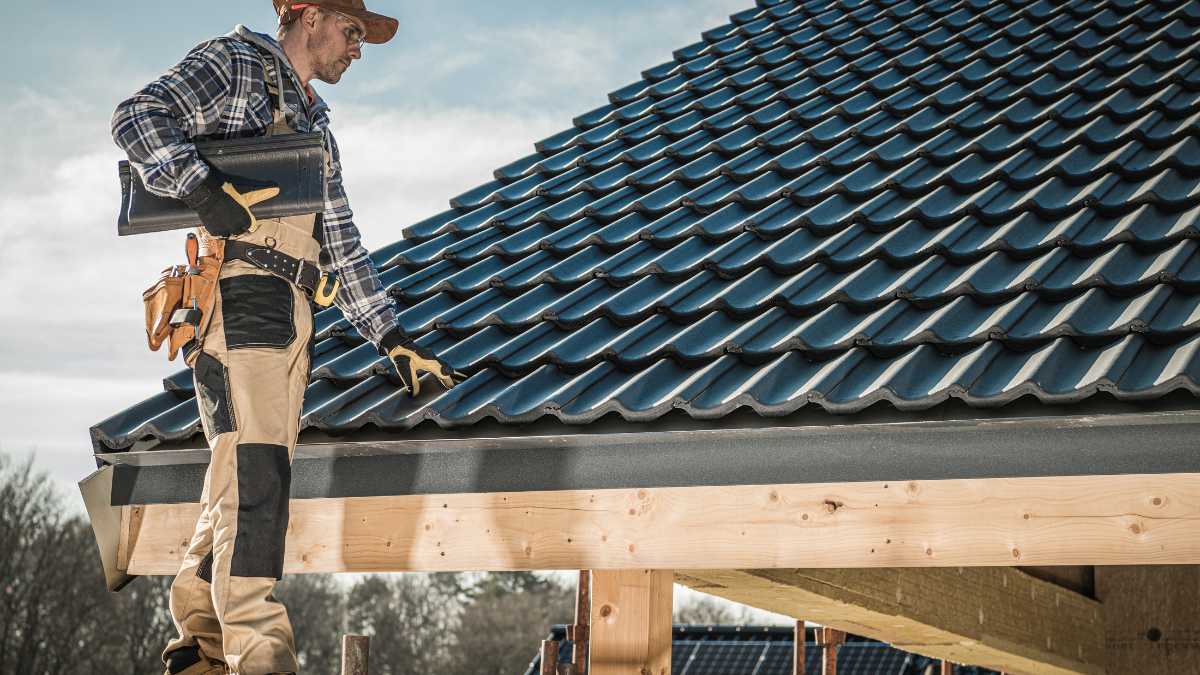
You’re up on the roof, ready to lay down those new shingles. But uh oh – you need to cut them to size and your old utility knife just isn’t cutting it (pun intended). You know an improper cut means leaks down the line. What’s a roofer to do? Don’t stress. We’ve tested and reviewed the top shingle-cutting tools out there from manual snippers to power shears.
In this guide, we’ll walk you through the pros and cons of each option so you can find the best match for your project and budget. Whether you’re a pro roofer or a DIY homeowner, we’ll help you make precision cuts every time for a watertight roof that will stand the test of time. So grab your hard hat, and let’s get cutting!
Common Roofing Shingle Materials and Why They Are Tough to Cut

| Roofing Shingle Material | Why They Are Tough To Cut |
|---|---|
| Asphalt Shingles | Fiberglass mat base makes them flexible and resistant to tearing. Asphalt coating can be thick and gummy, making blades stick. |
| Slate Shingles | Natural stone is very dense and hard. Prone to chipping or breaking if not cut with specialized tools. |
| Metal Shingles | Can be slippery, and thin metal may deform under pressure if not cut with the appropriate tool. Some metal types are quite strong. |
| Clay/Concrete Tiles | These are brittle and heavy. Require specialized tools, as they easily crack or break under incorrect pressure or technique. |
| Wood Shingles/Shakes | Natural variations in wood grain can lead to splitting. Some wood species are very dense and hard to cut cleanly. |
Asphalt Shingles
The most common and affordable roofing material, asphalt shingles can be tricky to cut since they are made of fiberglass mats coated in asphalt and granules. You’ll need a sharp utility knife and a straight edge to score and snap these shingles. Apply firm and even pressure as you cut to avoid cracking.
Wood Shingles and Shakes
Made from cedar, redwood, or cypress, wood shingles require extra caution when cutting due to their thickness and uneven, textured surface. Use a circular saw with a sharpened blade and cut slowly and carefully. Watch out for splintering and rough edges. Sealing the cut ends will help prevent rotting.
Concrete and Clay Tiles
Tile shingles, like terra cotta or concrete, are difficult to cut because of their hardness and weight. Rent an electric tile cutter or wet saw to get clean cuts. Mark your cut line, then run the blade over the tile using multiple passes to cut through gradually. Go slowly and hold the tile firmly to prevent slipping. Eye and ear protection are a must due to the sparks and noise.
Metal Shingles
Cutting through metal shingles, such as aluminum, steel or copper, requires power tools that can handle tough materials. A reciprocating saw with a metal-cutting blade or an angle grinder with a cut-off disc works well. Measure and mark your cut, clamp the shingle if possible, and cut using short strokes while applying firm pressure. Watch out for sharp edges after cutting.
With the proper tools and techniques for your specific shingle material, you can make short work of any cuts needed for your roofing project. Take your time, be safe, and you’ll achieve great results.
Key Features to Look for in a Quality Roof Shingle Cutting Tool
When tackling a DIY roofing project, the right cutting tool can make a big difference in how smoothly things go. There are a few features to consider to ensure you get clean, accurate cuts every time.
Durable and Sharp Blade
Look for a tool with a high-carbon steel blade that can slice through asphalt and fiberglass shingles with ease. A dull blade requires more force and can lead to jagged, uneven cuts. For pros handling many cuts a day, a blade that maintains its sharp edge is essential.
Adjustable Guide
An adjustable guide lets you set the tool to cut tiles at the optimal width and angle for your roof’s slope and shingle style. This helps achieve uniform cuts and straight edge lines for a professional-looking result. Some guides pivot to cut shingles for hips, valleys, and starter courses at the proper angle.
Comfortable, Non-Slip Handle
Don’t underestimate the importance of a comfortable handle! Cutting shingles requires repetitive motion and pressure, so a handle that fits well in your hand and has a non-slip grip can make the job less taxing. For pros, an ergonomic handle that reduces wrist strain from long hours of cutting is ideal.
Safety Features
Look for additional features like a hand guard to protect your fingers, a retractable blade for safe storage, and a strap or holster for convenient access without the risk of injury. Your safety should be a top priority for any roofing task.
With the right cutting tool and a little practice, you’ll be whipping through shingles in no time and well on your way to a roofing job well done. The small upfront investment in a quality tool can save you time, frustration, and money down the road.
Our Top Picks for DIY and Professional Roof Shingle Cutters

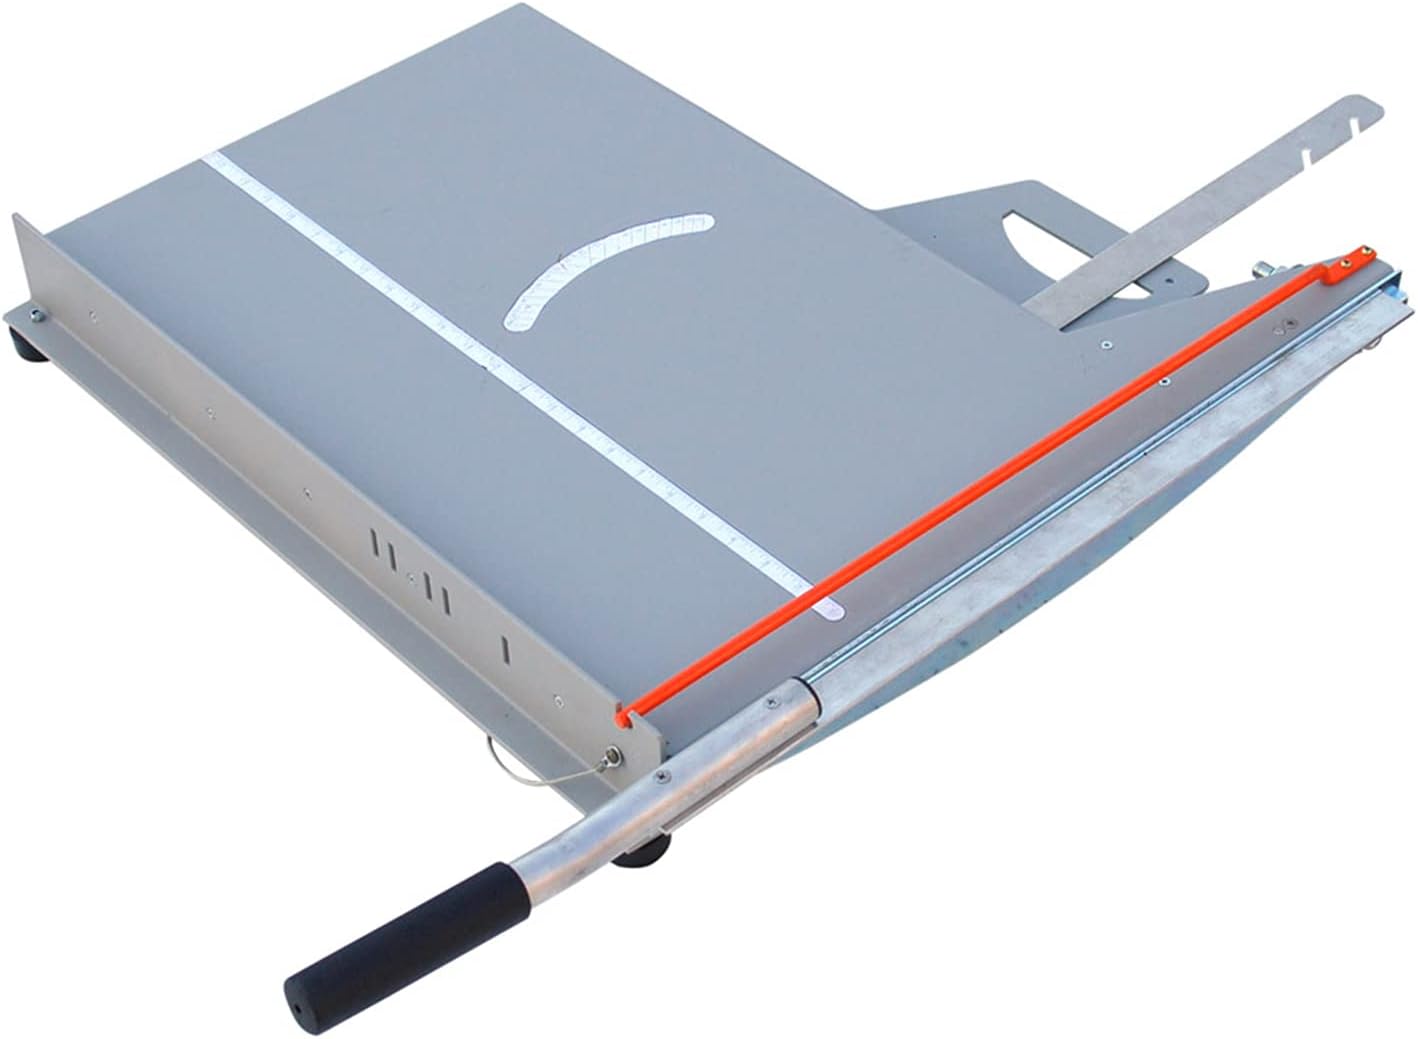
Crescent Shingle Cutter
- Forged Steel Construction: Emphasizes durability and longevity.
- Razor-Sharp Cutting Blade: Clean shingle cuts, minimizing waste and ragged edges.
- Adjustable Shingle Guide: Ensures consistent shingle sizing for a uniform roofline.
- Non-Slip Grip: Secure handling, especially in wet conditions.
- Milled Hammer Face: Allows for nailing in addition to cutting.
- Optional Drill Attachment: Offers a faster, powered cutting option for larger jobs.
For DIYers on a budget, a simple crescent shingle cutter gets the job done. This hand tool has a curved blade that slides under shingles to make cuts. It takes some elbow grease but can produce clean cuts if you go slowly. For around $280, it’s an affordable choice for small roofing projects.

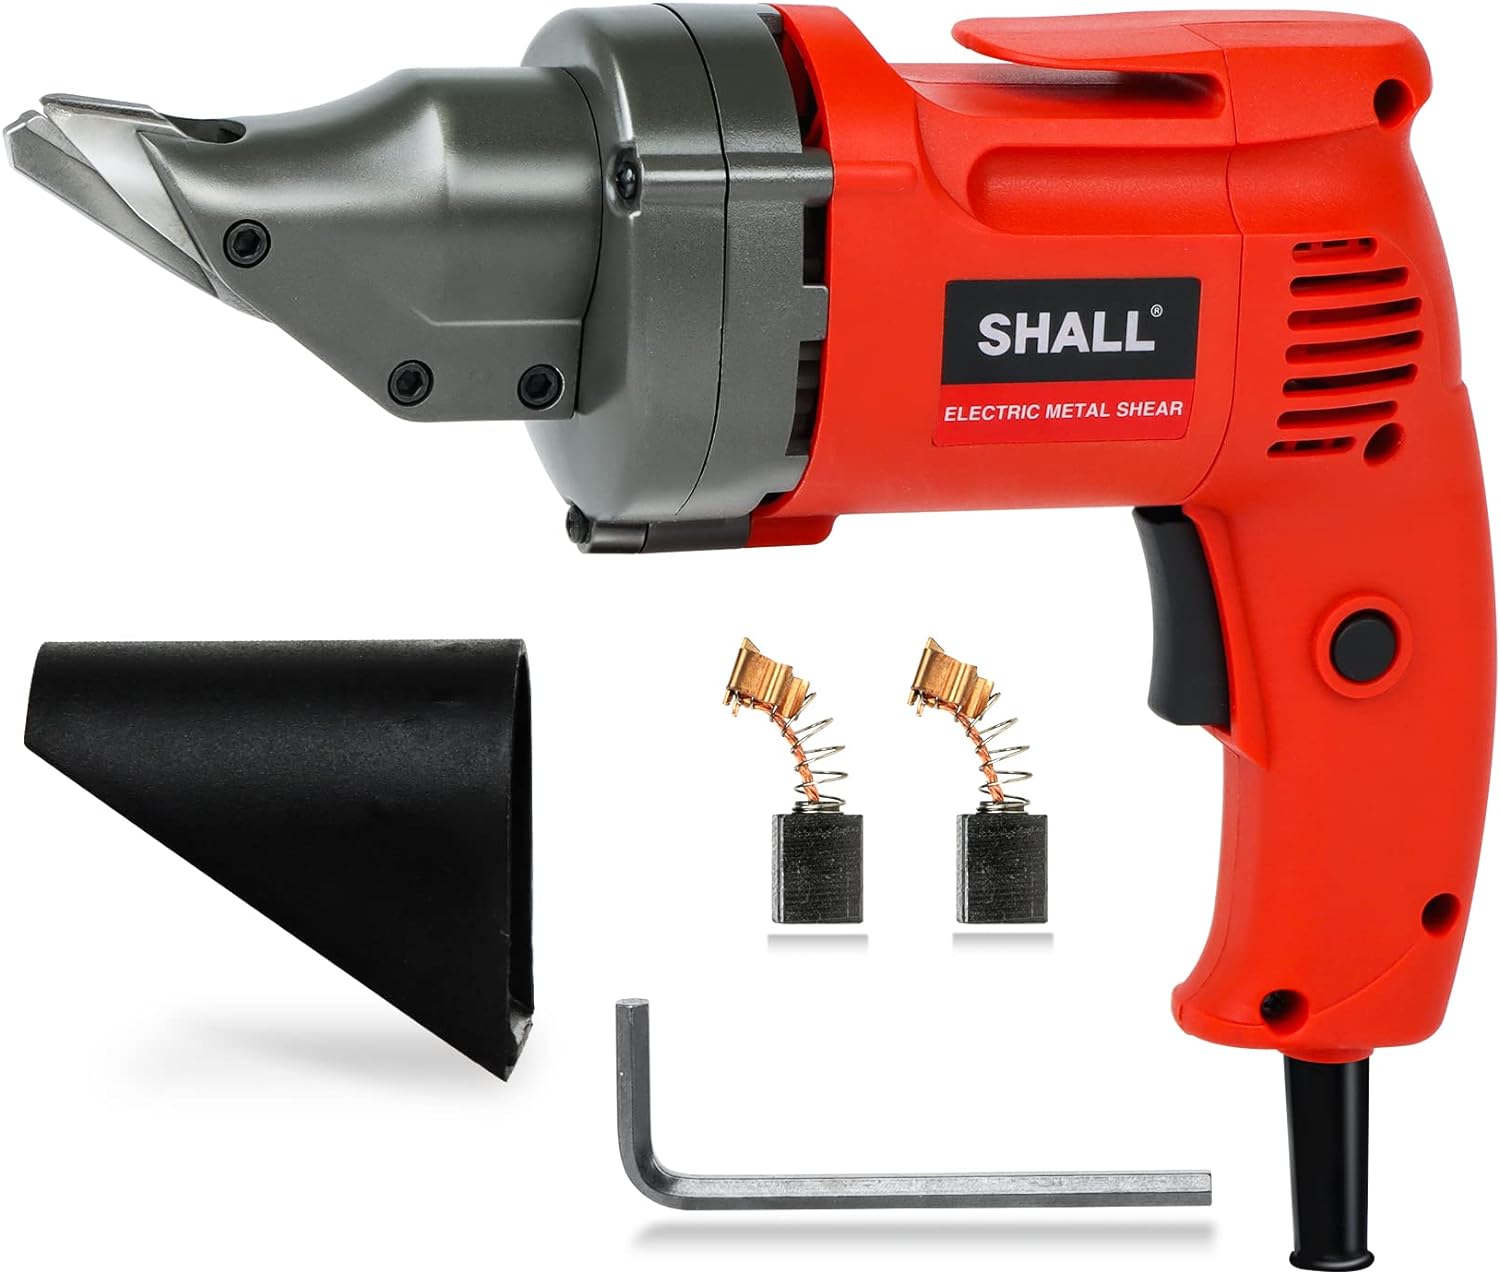
Electric Shingle Shear
- Powerful 4.0-Amp Motor: Handles sheet metal and stainless steel with ease.
- Variable Speed Control (0-2500 SPM): Allows for precision cutting on different materials and thicknesses.
- 360 Degree Swivel Head: Easy maneuverability around curves, corners, and complex shapes.
- Continuous Cutting Operation: Reduces hand fatigue on larger projects.
- Clean Double-Cut Design: Produces a smooth edge and minimizes metal waste/debris.
- Cutting Capacity: Up to 14 gauge sheet metal and 16 gauge stainless steel.
If you’re tackling a larger roof, an electric shingle shear will save you time and effort. Corded and cordless models are available for $50 to $200. These power tools have oscillating blades that can zip through shingles quickly. Popular brands like Worx, Black & Decker, and Bosch offer highly-rated shears that thousands of DIYers have used successfully on their roofs.

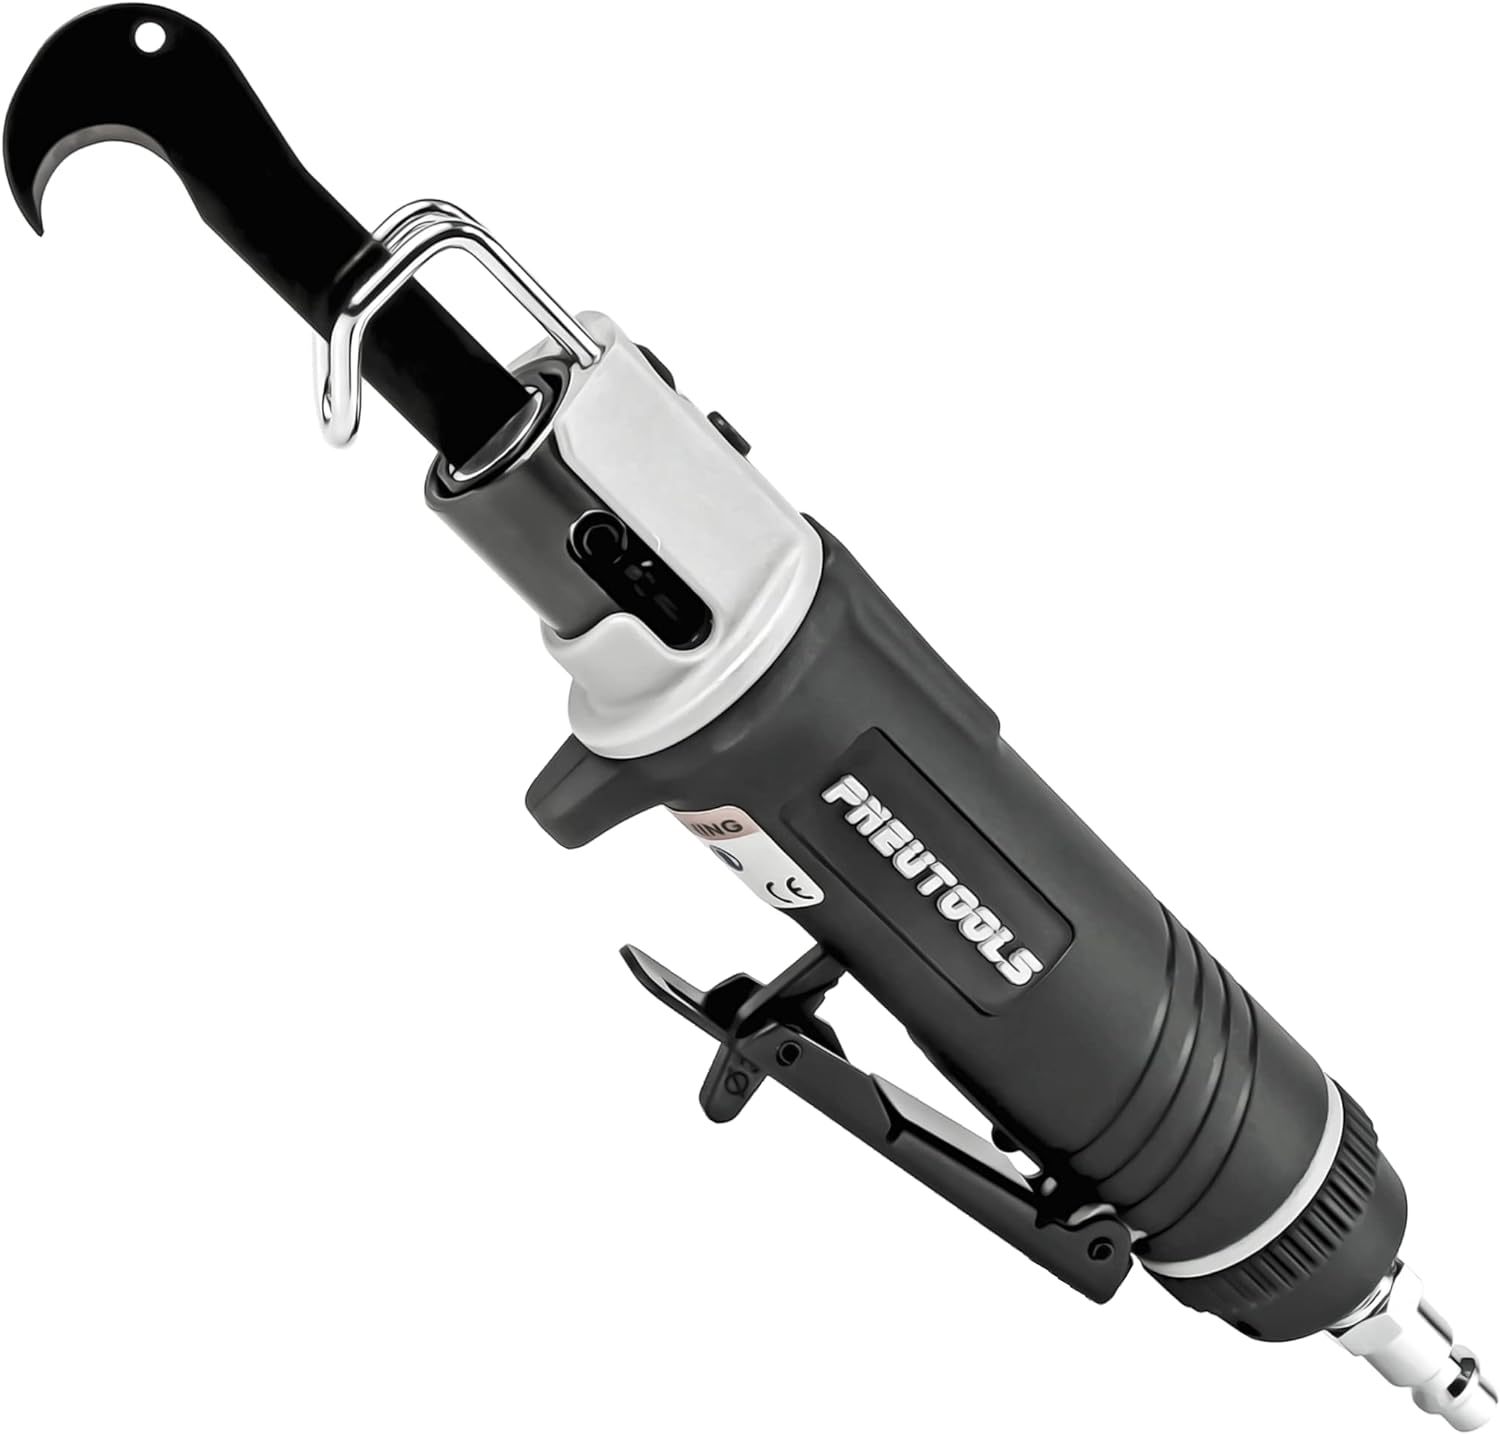
Pneumatic Shingle Cutter
- Pneumatic Power: Delivers consistent, high-speed cutting action (up to 10,000 strokes per minute) for fast, effortless cuts
- Replaceable Hook Blades: Designed specifically for shingles, providing clean cut lines and easy blade replacement.
- Versatile Tool: Can be used as a hook blade, jigsaw, trimmer, and shingle cutter, offering adaptability on roofing projects.
- 360° Rotatable Exhaust: Directs airflow away from the user and work area.
Manual Trigger Safety: Helps prevent accidental tool activation. - Built-in Air Filter: Protects the tool from debris, promoting longevity.
- Lightweight Construction: Reduces fatigue during extended use.
For professional roofing contractors, a pneumatic shingle cutter is the best choice. These air-powered tools can cut through shingles and nails with ease. Brands like Malco, Midwest, and Hyde offer heavy-duty pneumatic cutters for $200 to $500 that integrates with compressors to power the tool. While pricey, these cutters are built to withstand the demands of daily professional use.
Shingle Sealant Applicator
Don’t forget to seal those cuts! Once you’ve cut your shingles to size, use a shingle sealant applicator to reseal the edges. These tools, available for around $20, have a reservoir to hold roof cement or sealant. They apply the sealant evenly along cut edges to prevent leaks and lock out water. It’s a worthwhile investment to complete your project and ensure a watertight result.
With the right tools on hand, cutting shingles for your roofing project doesn’t have to be difficult or time-consuming. Select a cutter based on your needs and budget, take it slowly, and don’t forget to seal cut edges. In no time, you’ll be installing perfectly trimmed shingles for a professionally finished look.
Pro Tips for Getting Perfect Cuts With Your New Roof Shingle Cutting Tool
| Pro Tip | Description |
|---|---|
| Choose the Right Tool | Consider the type of shingles you’re cutting. Manual cutters are great for asphalt shingles, while stronger materials like slate or metal might require power tools. |
| Use a Sharp Blade | A dull blade will tear and fray shingles instead of cutting cleanly. Replace blades as needed. |
| Measure and Mark Accurately | Use a straight edge and a pencil to mark precise cut lines. This ensures a cleaner, more uniform roofline. |
| Support the Shingle | Have a sturdy, flat surface to cut against. This prevents the shingle from bending or breaking during cutting. |
| Cut at the Right Angle | Most shingle cutters have a guide. Make sure your cut is perpendicular to the shingle edge for a tight fit. |
| Cut in a Safe Location | Set up your cutting station away from the roof edge and other hazards. Consider protective gear like gloves and goggles. |
| Practice First | Try cutting scrap shingles before tackling the main job. This will help you get a feel for the tool and technique. |
Choose the Right Blade
The blade is the most important part of any cutting tool. For asphalt or fiberglass shingles, use a blade specifically designed for cutting shingles. Carbide-tipped blades provide the sharpest cut and longest life. For slate or wood shingles, use a diamond-grit blade. The blade should cut on the pull stroke for the cleanest cut.
Secure Your Shingles
Clamp down on the shingles to prevent shifting during cutting. For small jobs, you can simply hold down the shingle. For larger jobs, use clamps, nails, or weights to secure the shingle. Securing the shingle will lead to quicker, more accurate cuts.
Go Slow
Rushing a cut often leads to jagged edges, cracks, or an uneven line. Go slowly, especially around curves or angles. Some shingle cutters allow you to adjust the cutting speed. Start at a slower speed until you get the feel of it, then increase as needed. For tricky cuts, it’s better to go too slow than too fast.
Use a Straightedge
For perfectly straight cuts, use a straightedge like a speed square, framing square or level as a guide. Line up the straightedge and clamp it in place, then run the shingle cutter along its edge. The straightedge acts as a fence to keep your cutting line straight and even. This works for angled cuts as well using the proper angle guide.
Wear Proper Safety Gear
Shingle cutting creates fine debris and dust. Wear safety glasses, dust mask, work gloves, and protective clothing. Safety gear will make the work more comfortable and prevent injuries from sharp shingle edges or flying debris.
Following these tips will have you cutting shingles like a pro in no time. Take your time, use the right tools for the job, and be safe. Your new roof will be installed perfectly thanks to your expert shingle cutting skills.
Roof Shingle Cutting Tool FAQs: Your Top Questions Answered
What types of shingle-cutting tools are available?
The most common tools for cutting asphalt shingles are utility knives, tin snips, and power tools like circular saws. Utility knives, like box cutters, are very affordable and versatile but can be difficult to get straight cuts. Tin snips, or aviation snips, are sturdier but still require a steady hand. For larger jobs, consider an electric saw like a circular saw or jigsaw which can zip through shingles quickly. Cordless tools offer more flexibility. Choose a tool based on your skill level and the scale of your project.
Do I need any special blades?
For utility knives and tin snips, use blades specifically designed for cutting asphalt shingles. Carbide-tipped or titanium-coated blades will last longer. For power tools, use diamond grit cutting blades which are harder than the minerals in asphalt shingles. A blade with around 60 to 80 teeth, like a framing or siding blade, works well for most shingles. The teeth should point down, not up. Dull or improper blades can damage shingles by tearing, cracking, or melting the material.
How do I make clean, accurate cuts?
First, measure and mark your shingle for the perfect cut line. Hold the shingle steady on a flat, solid surface. For curvy or uneven cuts, consider clamping the shingle in place. Go slowly, applying firm and even pressure as you cut.
Multiple lighter passes are better than forcing the tool through in one go. Change blade direction or re-clamp as needed for long cuts. Wipe away debris to clearly see your line. Smooth rough edges with a file or sandpaper. Take your time—rushing can lead to slips, inaccurate cuts, and damaged shingles. With some practice, you’ll be cutting like a pro in no time!
How do I avoid common cutting mistakes?
The most frequent mistakes are rushing, using dull blades, and not securing shingles before cutting. This can lead to cracked, torn, or uneven edges that may not seal properly or match your roofline. Be patient, clamp shingles if needed, and replace blades regularly. It’s also a good idea to practice your technique on scrap shingles first. Measure twice, and cut once. And when in doubt, cut conservatively—you can always trim more off, but you can’t put it back! With the proper tools and patience, your shingle-cutting woes will be a thing of the past.
Conclusion
So there you have it – the top shingle-cutting tools to make your roofing project a breeze. With the right manual or power shears, you’ll get clean, precise cuts on every shingle. Just remember to factor in your budget, skill level, and project scope when deciding which option to choose.
And don’t forget about safety – wear protective gear and follow the manufacturer’s instructions. With the perfect cutting tool in hand, you’ll be nailing down those new shingles in no time. The end result will have your roof looking sharp and professionally done.


